To schedule Instagram Reels, connect an eligible professional account, prepare the approved video and caption, select the correct account and time, then verify the publication result. A scheduled item is not proof that a Reel has gone live.
What to take away
- Check account, media, caption and timezone together.
- Keep a recovery process for failed publications.
- Do not assume every native Instagram feature is available through a scheduler.
Prepare the account connection
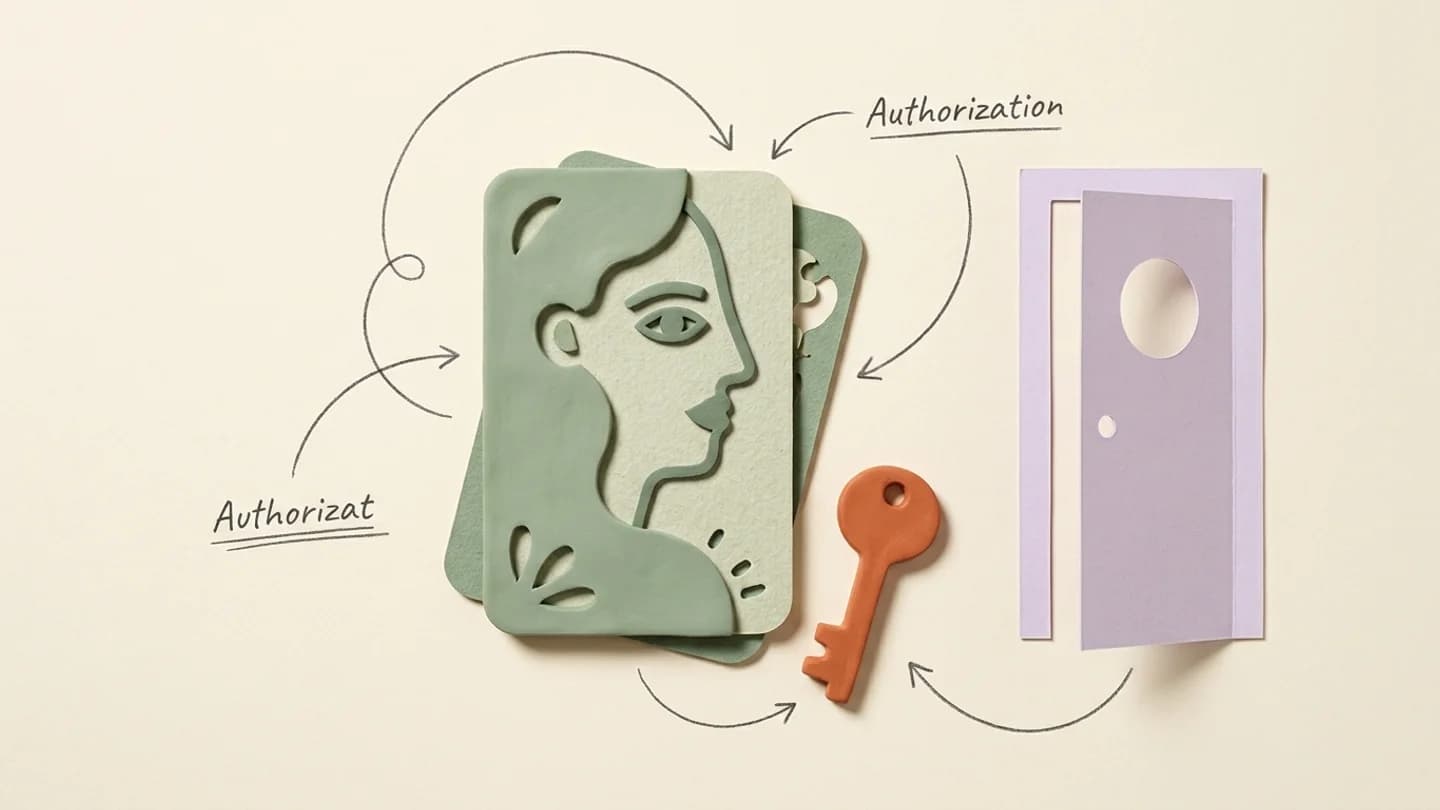
Use an account you own or have permission to manage. Instagram’s professional-account requirements and permissions apply to third-party publishing. Complete the authorization flow with the right Instagram identity, then confirm the account shown in the workspace before preparing content.
For a creator roster, use clear account labels and profile images. A familiar display name is useful, but the exact handle is the final check when two accounts look similar. Reconnect a revoked account through the supported flow rather than sharing passwords across the team.
Prepare the publishable asset
Keep an approved video file that the publishing workflow can access. Check the picture, sound, caption and cover in the format you actually plan to upload. A video that looks correct in an editor can still have an unwanted black frame, silent opening or cropped subtitle.
Native Instagram editing features and licensed music availability do not necessarily carry over to API-based scheduling. If a concept depends on an in-app feature, verify support before promising it to the creator. Keep a clean master file so another export is possible.
Set the account and time deliberately
Choose the creator account before setting the time. Confirm the displayed timezone and account for daylight-saving differences when coordinating across regions. Record the intended audience timezone in the brief so an operator is not guessing whether “8 pm” means the creator’s location or the audience’s.
- Confirm the exact Instagram handle.
- Open the final approved video.
- Read the complete caption, including names and dates.
- Verify the publishing time and timezone.
- Check the saved scheduled item after submission.
Verify success and recover from failure
After the scheduled time, check for a confirmed publication status and, where available, the resulting Instagram post. If the status is uncertain, inspect before retrying. Submitting the same content repeatedly can create duplicates when a delayed publication eventually succeeds.
Treat access errors, media errors and service errors differently. An expired authorization needs reconnection. An invalid asset needs a corrected file. A temporary provider issue may need a later retry. Keep an incident note so the same mistake does not recur across the roster.
Make scheduling a team habit
A reliable workflow assigns one person to review upcoming posts and one escalation route for problems. The review can be brief: missing assets, accounts needing attention and the next day’s schedule. This is easier to sustain than manually checking every account throughout the day.
Kinuly combines account selection, a publishing calendar and publication status. Your internal process still determines whether the content is approved and appropriate. Automation handles repetitive execution; it does not replace editorial judgment.
Questions, answered
Can a personal Instagram account use API publishing?
Instagram publishing integrations are designed for eligible professional accounts. Use a Business or Creator account and complete the permissions requested by the connection flow.
Does scheduled mean published?
No. Scheduled means queued for a future time. Confirm the publication result after that time.